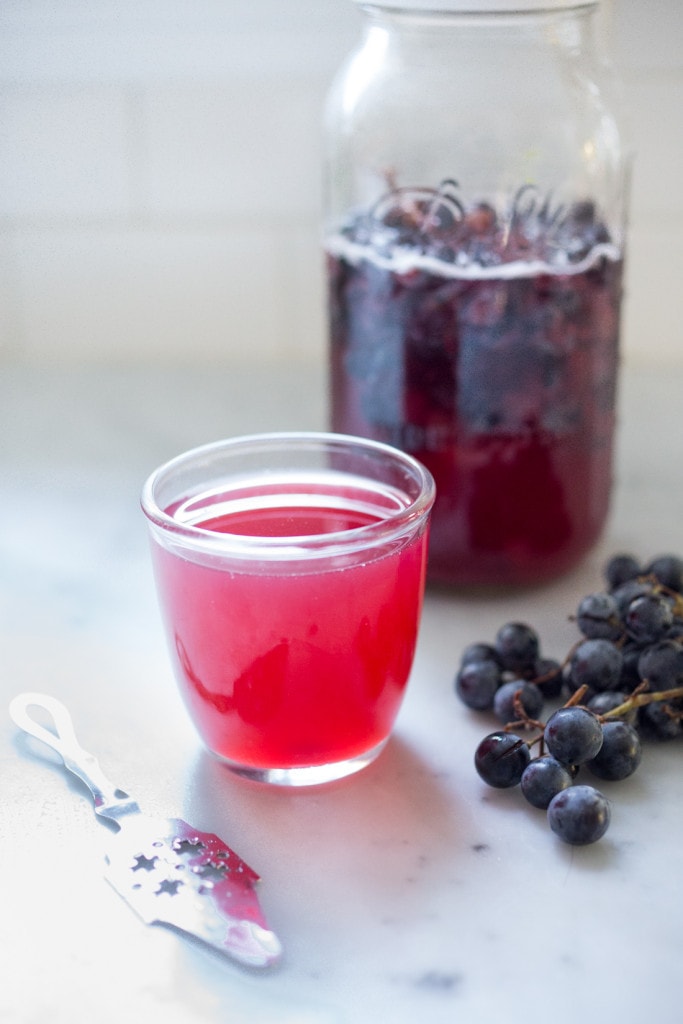
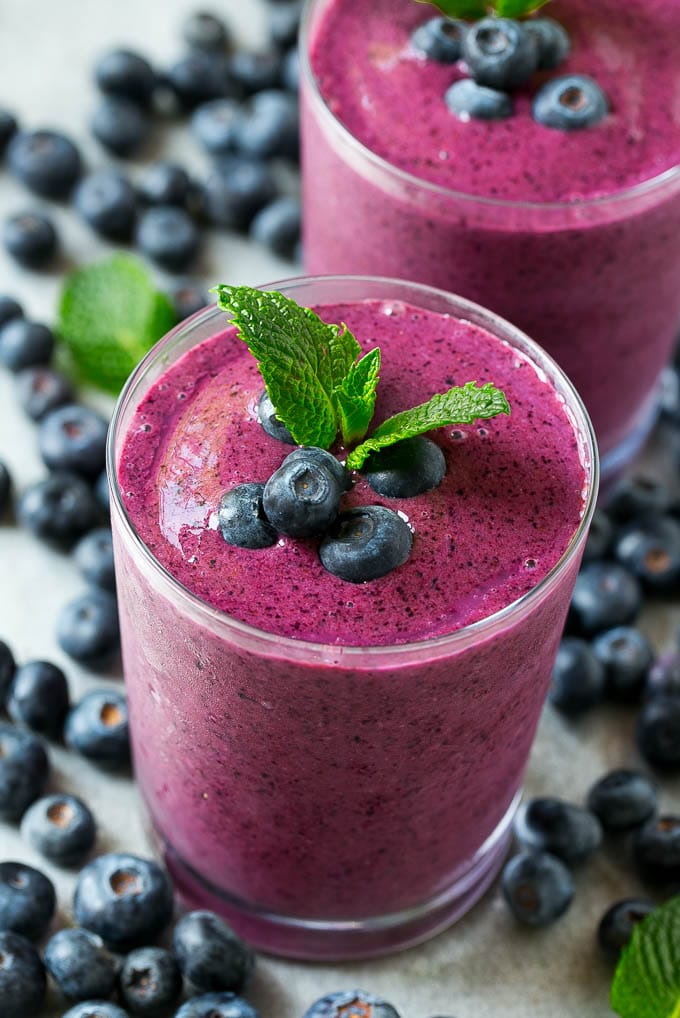
I absolutely love berry kefir, and I’m sure you will too!
If you’re not familiar with kefir, it’s a fermented drink that is packed full of probiotics.
It’s great for your gut health and can help improve digestion.
Plus, it tastes amazing!
Today, I want to share with you my recipe for making berry kefir at home.
It’s super easy to make, and the end result is delicious.
So, let’s get started!
What You’ll Need

Before we dive into the recipe, let’s go over what you’ll need:
- Kefir grains
- Milk (dairy or non-dairy)
- Fresh berries (your choice)
- A glass jar
- A plastic strainer
- A wooden spoon
Finding Kefir Grains
You can find kefir grains online or at some health food stores.
They are small, white, gelatinous beads that are used to ferment the milk.
Choosing Your Milk
When choosing your milk, you can use dairy or non-dairy milk.
I prefer to use whole milk for a creamier consistency, but you can use any type of milk you like.
⇒Tip: If you’re using non-dairy milk, make sure it doesn’t contain any additives like carrageenan, which can interfere with the fermentation process.
Preparing Your Berries
Before adding your berries to the kefir, make sure to wash them thoroughly and remove any stems or leaves.
You can use any type of berry you like, such as strawberries, blueberries, or raspberries.
Tip: If you’re using frozen berries, make sure to thaw them completely before adding them to the kefir.
The Recipe to Make Berry Kefir

Here’s how to make berry kefir:
Step 1: Adding the Kefir Grains
- Add the kefir grains to a glass jar
Step 2: Pouring in the Milk
- Pour in the milk until the jar is about 3/4 full
Step 3: Adding Fresh Berries
- Add in your fresh berries
Step 4: Stirring Gently
- Stir gently with a wooden spoon
Step 5: Covering the Jar
- Cover the jar with a cloth or paper towel and secure it with a rubber band
Step 6: Letting it Sit
- Let the mixture sit at room temperature for 24-48 hours.
- The longer you leave it, the thicker and tangier it will become.
Step 7: Straining the Mixture
- After 24-48 hours, strain the mixture through a plastic strainer into another jar or container.
- Be sure to use a plastic strainer, as metal can damage the kefir grains.
Step 8: Ready to Drink
- Your berry kefir is now ready to drink!
- You can store it in the fridge for up to a week.
Be sure to use fresh berries to get the best flavour.
Don’t use metal utensils or containers when making kefir, as they can damage the kefir grains.
Experiment with different types of milk and fruit to find your favourite combination.
Tips & Tricks for the Best Berry Kefir
As someone who has made berry kefir before, I have some tips and tricks to help you make the best possible batch:
Using Fresh Berries
For the best flavour, it’s important to use fresh berries.
While frozen berries can be used, they may not taste as good.
Fermenting for a Thicker Kefir
If you want a thicker kefir, let it ferment for longer than 48 hours
This will give the kefir more time to thicken.
Tip: If you’re not sure if your kefir is thick enough, you can always strain it through a cheesecloth to remove any excess liquid.
Reusing Kefir Grains
You can reuse the kefir grains to make more batches of kefir.
Simply rinse them with water and add them to a new jar of milk.
This is a great way to save money and reduce waste.
Separation is Normal
Don’t worry if your kefir separates into curds and whey.
This is normal and doesn’t affect the taste or quality of the kefir.
Fun Fact: Kefir grains are actually a combination of bacteria and yeast that work together to ferment the milk.
Experiment with Different Berries
Finally, don’t be afraid to experiment with different types of berries to find your favourite flavour combination.
Some popular options include strawberries, blueberries, and raspberries.
⇒Tip: If you’re feeling adventurous, you can even try adding other fruits or spices to your kefir for a unique flavour profile.
The Benefits Of Berry Kefir
From my personal experience, I have found that kefir is not only delicious but also incredibly good for my health.
Here are just a few of the benefits of drinking berry kefir:
Probiotics for Improved Digestion and Immune System
Kefir is packed full of probiotics, which can help improve digestion and boost your immune system.
I have noticed that since I started drinking kefir regularly, my digestion has improved significantly, and I am less prone to getting sick.
Great Source of Calcium, Vitamin D, and Other Nutrients
Another benefit of kefir is that it’s a great source of calcium, vitamin D, and other important nutrients.
As someone who doesn’t consume a lot of dairy, I appreciate that kefir provides me with these essential nutrients.
Did you know that kefir has three times the amount of probiotics as yoghurt?
Anti-Inflammatory Properties
Kefir has been shown to have anti-inflammatory properties, which can help reduce inflammation throughout the body.
This is particularly beneficial for those with inflammatory conditions such as arthritis.
Lower Cholesterol Levels and Reduced Risk of Heart Disease
Drinking kefir regularly may help lower cholesterol levels and reduce the risk of heart disease.
This is because kefir contains compounds that can help lower blood pressure and improve cholesterol levels.
⇒Studies have shown that drinking kefir can help improve symptoms of lactose intolerance.
Delicious and Easy-to-Drink Form of Dairy
Finally, kefir is a great way to get your daily dose of dairy (or non-dairy) in a delicious and easy-to-drink form.
I love adding kefir to my smoothies or enjoying it as a refreshing drink on its own.
- Kefir is a great source of protein, with around 8 grammes per cup
- It’s also a good source of B vitamins, which are important for energy production
- Kefir can be made with dairy milk, coconut milk, or other non-dairy milks
⇒Some studies suggest that kefir may have anti-cancer properties.
♦Fruits That Can Be Fermented – Discover Now! ⇒ READ MORE
In Conclusion
Making berry kefir at home is easy, fun, and incredibly rewarding.
Not only will you have a delicious drink to enjoy, but you’ll also be doing something good for your body.
So, grab some kefir grains, milk, and fresh berries, and give this recipe a try.
I promise you won’t regret it!
