
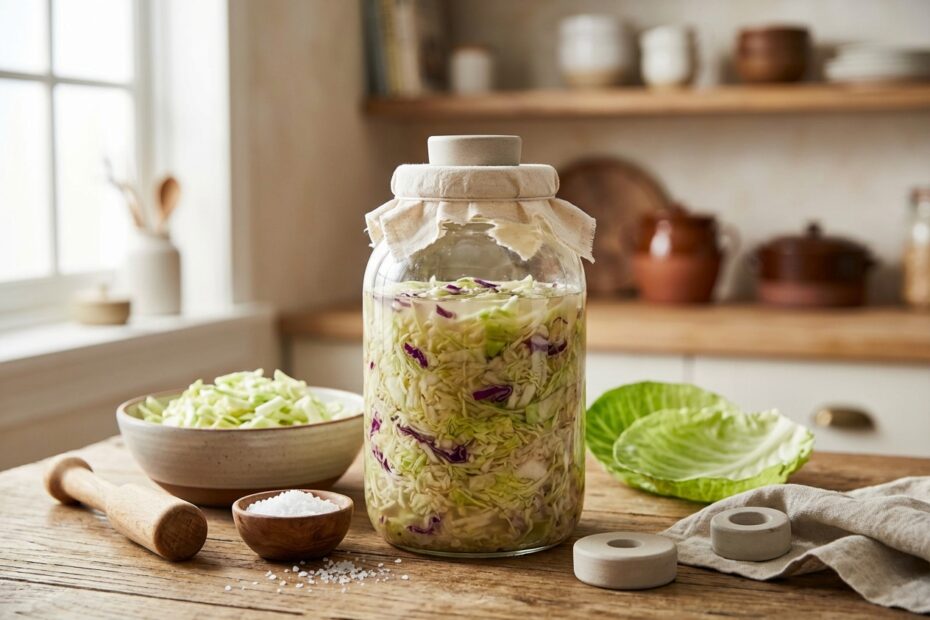
A jar of homemade sauerkraut sits on my kitchen counter right now, bubbling away quietly. Three ingredients went into it: cabbage, salt, and time. Yet this simple combination creates something remarkable – a tangy, crunchy food packed with beneficial bacteria that you simply cannot buy in a store. Commercial versions are pasteurized, which kills the very organisms that make fermented cabbage worth eating. The good news? Making your own is easier than you think, and once you understand the basic principles, you’ll wonder why you ever bought the jarred stuff. I’ve been fermenting vegetables for years, and I still get excited watching those first bubbles appear. That’s living food doing its thing, and you’re about to learn exactly how to make it happen in your own kitchen.
The Science and Probiotic Benefits of Raw Sauerkraut
Understanding Lacto-Fermentation
Lacto-fermentation has nothing to do with dairy, despite the name. The “lacto” refers to Lactobacillus bacteria, which naturally live on the surface of vegetables, including cabbage. When you create the right conditions – salt, lack of oxygen, and time – these bacteria wake up and get to work.
Here’s what actually happens: Lactobacillus bacteria consume the natural sugars in cabbage and produce lactic acid as a byproduct. This acid drops the pH of your ferment, creating an environment where harmful bacteria cannot survive. The salt you add serves two purposes: it draws moisture from the cabbage to create brine, and it slows down the process enough that Lactobacillus can outcompete other microorganisms. The result is a preserved food that’s actually more nutritious than the raw ingredient you started with.
How Fermentation Boosts Gut Health and Immunity
Raw sauerkraut contains billions of live bacteria per serving. These aren’t random microbes – they’re the same types of beneficial organisms found in expensive probiotic supplements. When you eat unpasteurized fermented cabbage, you’re introducing diverse bacterial strains directly into your digestive system.
Your gut contains roughly 70% of your immune system. The bacteria from fermented foods help maintain the intestinal lining, produce certain vitamins, and communicate with immune cells. Studies have shown that regular consumption of fermented foods increases microbial diversity in the gut within weeks. One tablespoon of homemade sauerkraut can contain more probiotics than an entire bottle of supplements, and your body absorbs them better because they come packaged with fiber and nutrients.
Essential Equipment and Ingredients for Success
Choosing the Right Cabbage Varieties
Green cabbage is the traditional choice, and it’s what I recommend for beginners. It’s affordable, widely available, and produces consistently good results. Look for heads that feel heavy for their size with tight, crisp leaves. Avoid any with brown spots or signs of wilting.
Red cabbage works beautifully and creates a stunning purple sauerkraut. It tends to be slightly crunchier and takes a bit longer to ferment. Napa cabbage produces a milder, more delicate result – great for Asian-inspired dishes but less traditional. Savoy cabbage, with its crinkled leaves, ferments well but can become softer than green cabbage. For your first batch, stick with a fresh, organic green cabbage. The organic part matters because you want those naturally occurring bacteria on the leaves, not pesticide residue.
Best Salt to Cabbage Ratio for a Perfect Brine
The ratio that works reliably is 2% salt by weight. For every 1,000 grams of shredded cabbage, use 20 grams of salt. This creates enough brine to keep the cabbage submerged while allowing fermentation to proceed at a steady pace.
Use non-iodized salt – iodine can inhibit the beneficial bacteria. Sea salt and kosher salt both work well. Avoid table salt with anti-caking agents. I keep a kitchen scale specifically for fermentation because eyeballing measurements leads to inconsistent results. Too little salt and your ferment may spoil. Too much and it will taste unpleasantly salty and ferment too slowly. The 2% ratio gives you a margin for error while producing excellent results.
Step-by-Step Guide to Preparing Your Cabbage
Shredding and Massaging for Natural Brine Release
Remove the outer leaves and set one aside for later. Quarter the cabbage and cut out the core. Slice each quarter into thin strips, about the width of a nickel. A sharp chef’s knife works fine, though a mandoline speeds up the process for larger batches.
Place your shredded cabbage in a large bowl and sprinkle the measured salt over it. Now comes the important part: massage the cabbage with your hands. Squeeze, knead, and work it for 5 to 10 minutes. You’ll notice the cabbage becoming limp and wet as cell walls break down and release liquid. Keep going until you have a pool of brine at the bottom of the bowl. This liquid is your preservation medium – you need enough to completely cover the cabbage once it’s packed.
Packing Techniques to Eliminate Air Pockets
Transfer handfuls of cabbage into your jar, pressing down firmly after each addition. Use your fist, a wooden spoon, or a specialized tamper. The goal is to force out air pockets and push the brine up over the cabbage. Air is the enemy of fermentation because it allows mold and unwanted bacteria to grow.
Pack the jar to about three-quarters full, leaving headspace for expansion. The brine should rise at least one inch above the cabbage. If you didn’t generate enough liquid during massaging, add a small amount of 2% saltwater solution. Take that reserved outer leaf and press it on top, tucking the edges down along the sides. This creates a barrier between your shredded cabbage and the air above.
Managing the Fermentation Environment
How to Prevent Mold in Fermentation Jars
Mold grows when cabbage is exposed to air. The solution is simple: keep everything submerged. Glass fermentation weights work well for this purpose. A small jar filled with water and placed inside the larger jar also does the job. Some people use a zip-lock bag filled with brine pressed against the surface.
Check your ferment daily for the first week. If any cabbage floats above the brine, push it back down. White film on the surface is usually Kahm yeast, which is harmless but can affect flavor – skim it off and ensure better submersion. Actual mold appears fuzzy and colored, often green, black, or pink. A small spot of mold on the surface can be removed along with surrounding cabbage, but if mold has penetrated throughout, discard the batch and start fresh.
Ideal Temperature and Lighting Conditions
Temperature dramatically affects fermentation speed. Between 65 and 75 degrees Fahrenheit produces the best balance of flavor development and food safety. Cooler temperatures slow fermentation, resulting in a crunchier texture and more complex taste over a longer period. Warmer temperatures speed things up but can produce mushy sauerkraut with less nuanced flavor.
Keep your jar out of direct sunlight, which can raise temperatures unevenly and degrade nutrients. A kitchen counter away from windows works well, as does a cupboard with the door left slightly open for airflow. I ferment mine on top of the refrigerator during winter when my kitchen runs cool, and in a basement during summer. Consistent temperature matters more than hitting a specific number.
Troubleshooting and Long-Term Storage
Signs Your Cabbage is Ready for the Fridge
Taste your ferment starting around day five. You’re looking for a pleasant tanginess balanced with the natural sweetness of cabbage. The texture should still have some crunch. Bubbling activity will slow significantly as fermentation completes, typically between one and four weeks depending on temperature and your taste preferences.
Trust your senses. Good sauerkraut smells tangy and slightly sulfurous but not rotten. It tastes sour but clean. The color will be duller than fresh cabbage – that’s normal. When the flavor reaches your preferred level of sourness, transfer the jar to the refrigerator. Cold temperatures slow fermentation to a near halt, preserving your sauerkraut for months. I’ve eaten batches that were over a year old with no quality issues.
Recognizing the Difference Between Yeast and Mold
Kahm yeast appears as a thin, white, sometimes wrinkled film on the brine surface. It’s not dangerous, just aesthetically unpleasant and can impart off-flavors if left unchecked. Skim it off, ensure your cabbage stays submerged, and continue fermenting. Many successful batches develop some Kahm yeast.
Mold looks distinctly different: fuzzy, raised, and typically colored. It needs air to grow, which is why proper submersion prevents it. If you see actual mold, assess how deep it goes. Surface mold caught early can sometimes be removed, but when in doubt, throw it out. The good news? Once you master the basics of keeping cabbage submerged and maintaining proper salt ratios, mold becomes rare. I’ve made hundreds of batches and discarded maybe three due to contamination.
Your first batch of fermented cabbage might not be perfect, and that’s completely fine. Each ferment teaches you something about timing, temperature, and your own taste preferences. Start with a small batch, take notes, and adjust from there. The beneficial bacteria will do most of the work – your job is simply creating the right conditions and staying patient.