
Are you ready to embark on a journey of flavour and preservation?
With the right knowledge and tools, you can create your own delicious fermented foods at home.
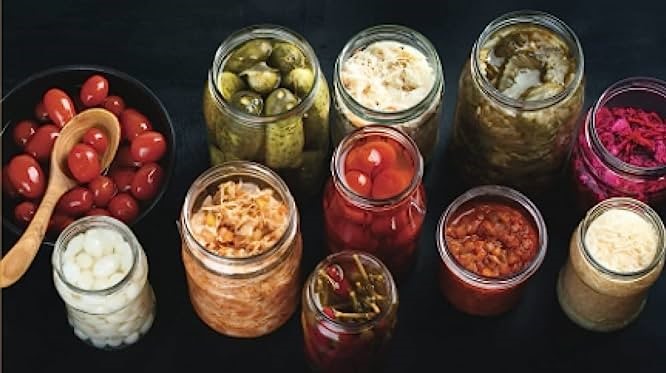
In this ultimate guide, we will walk you through a 10-step fermentation process that will have you enjoying homemade sauerkraut, kimchi, pickles, and more in no time.
So let’s roll up our sleeves and get started!
Step 1: Choose Your Fermenting Vessel
The first step in creating a successful fermentation process is choosing the right vessel for your project.
You have several options to consider:
- A glass jar with an airtight lid
- A ceramic crock with a water seal
- An airlock fermenter
Each option has its pros and cons, so choose one that fits your needs and budget.
Glass Jar with Airtight Lid
A glass jar with an airtight lid is a popular choice for fermenting.
It allows you to see the fermentation process and is easy to clean.
However, it may not provide a completely airtight seal, which can lead to spoilage.
Ceramic Crock with Water Seal
A ceramic crock with a water seal is a traditional option.
The water seal creates an airtight environment, preventing spoilage.
However, it can be more expensive and harder to clean.
Airlock Fermenter
An airlock fermenter is a modern option that uses an airlock to release gases while keeping oxygen out.
This helps prevent spoilage and allows for a more controlled fermentation process.
However, it can be more expensive and may require additional equipment.
Step 2: Prepare Your Ingredients
Now that you have your vessel, it’s time to gather your ingredients.
Whether you’re making sauerkraut or pickles, start with fresh vegetables and high-quality salt.
Avoid iodized salt, as it can inhibit fermentation.
Wash and chop your vegetables into the desired size and set them aside.
Step 3: Create Your Brine Solution
To kick-start the fermentation process, you’ll need a brine solution.
General Rule of Thumb
The general rule of thumb is to use about 2% salt by weight of the total amount of water.
Example Calculation
For example, if you have 1 litre of water, you would use 20 grammes of salt.
Dissolve the Salt
Dissolve the salt completely in room temperature water before moving on to the next step.
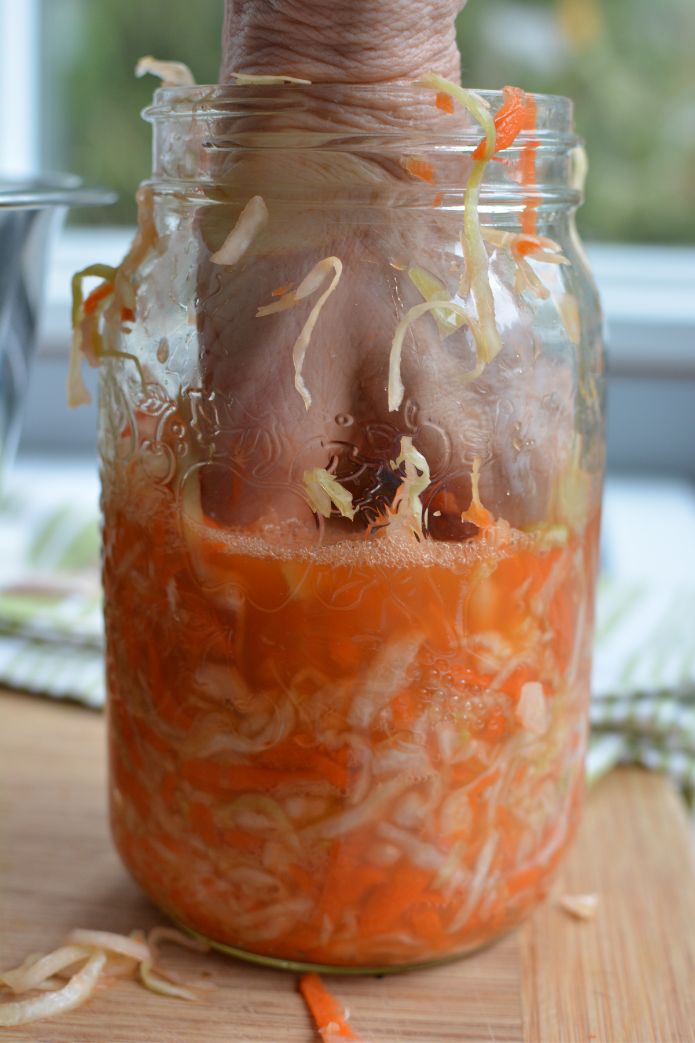
Step 5: Weigh It Down
To keep your vegetables submerged in the brine and prevent mould growth, you’ll need to weigh them down.
You can use a clean glass jar filled with water or a specially designed fermentation weight.
Place the weight on top of the vegetables, ensuring they stay beneath the liquid level.
Step 6: Cover and Store
Now that your vessel is packed and weighed down, cover it with a lid or cloth to protect it from dust and insects.
Find a cool spot in your home where the temperature remains relatively stable, ideally between 65°F and 75°F (18°C and 24°C).
Avoid placing it in direct sunlight, as this can lead to off-flavors.
Step 7: Patience Is Key

Fermentation is a slow process that requires patience.
Depending on the recipe and ambient temperature, it can take anywhere from a few days to several weeks for the flavours to develop.
During this time, check on your ferment regularly and skim off any scum or mould that may form on the surface.
Step 8: Taste Test
After the initial fermentation period, it’s time to taste test your creation.
Use a clean utensil to scoop out a small portion and give it a try.
If it’s not tangy enough for your liking, let it ferment for a bit longer.
Remember, the flavours will continue to develop over time.
Step 9: Store and Enjoy
Once you’re happy with the taste, it’s time to transfer your fermented creation into smaller jars or containers for long-term storage in the refrigerator.
Fermented foods can last for several months when stored properly, but they are best enjoyed within the first few weeks when the flavours are at their peak.
Step 10: Experiment and Have Fun!
Now that you’ve mastered the basics of fermentation, don’t be afraid to get creative and experiment with different vegetables, spices, and flavours.
The possibilities are endless!
Try adding shredded carrots to your sauerkraut or spicy peppers to your pickles.
Let your taste buds guide you on this exciting culinary journey.
Fermentation Fun Facts
If you’re still on the fence about trying fermentation at home, here are some fun facts that might convince you:
- Fermented foods are rich in probiotics, which promote a healthy gut and immune system
- The process of fermentation increases the bio-availability of nutrients in food, making them easier for our bodies to absorb
- Certain fermented foods, like sauerkraut and kimchi, contain beneficial bacteria that can help reduce inflammation and improve digestion
- Fermenting your own food is a sustainable way to preserve surplus produce and reduce waste
So what are you waiting for?
Start your fermentation journey today and unlock a world of delicious flavours and health benefits!